- Introduction
- Setup
- Customers
- Inventory
- Employees
- Vendors
- Sales
- Purchasing
- Accounting
- Maintenance
- Reports
- Utilities
Page last updated: August 21, 2012
All rights reserved.
Upgrading Data Files
Whenever you need to remove deleted records
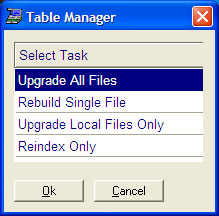
or re-generate file indexes, you need to run Table Manager. From the Main Menu,
select File
Upgrade All Files This will upgrade your datafiles, remove
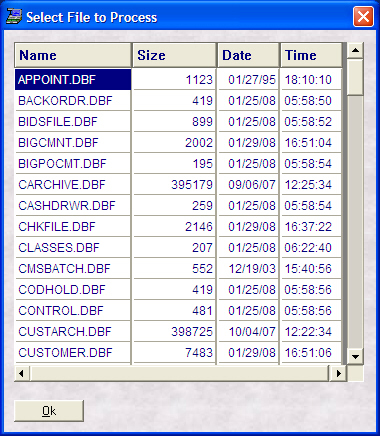
any records marked for deletion, and create new indexes. Select File To Upgrade a Single File This will upgrade, remove any records marked
for deletion and create new indexes for a single file only. Select File
Scroll down the list and highlight the file you want to upgrade and select Ok. To Upgrade Local Files This will upgrade, remove any records marked
for deletion and create new indexes for the datafiles stored on this workstation
only. Select File
|


