- Introduction
- Setup
- Customers
- Inventory
- Employees
- Vendors
- Sales
- Purchasing
- Accounting
- Maintenance
- Reports
- Utilities
Page last updated: August 21, 2012
All rights reserved.
Access ControlAccess Control lets you restrict which employees can and can't do certain functions or print certain reports.
Select System A selection list of options will appear. Select Sales Access to set or change the access rights to the main business management software, or Reports Access to set or change access rights to individual reports. Select Ok when done to save or Cancel to exit.
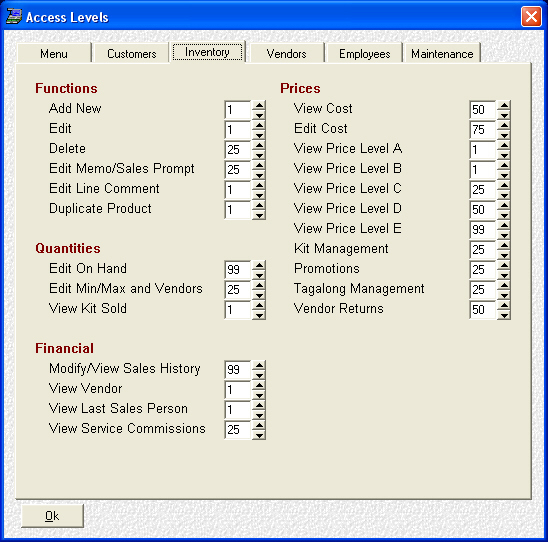
Setting Access Levels Both Sales Access and Reports Access are divided into logical sections. Select the tab for the section you wish to set. The available controls will then appear. Set the level for each function from 1 (lowest access) to 99 (highest access). Continue editing in this manner until you have set all desired options. Select Ok when done to save; or Cancel to exit without saving your changes. Please note that when you set an employee to a particular access level, they will be able to do any and all functions set to that level or lower. For example, if you set an employee to access level 75, in the above example, that employee would be able to do everything on that screen except those items set to 99. |

